
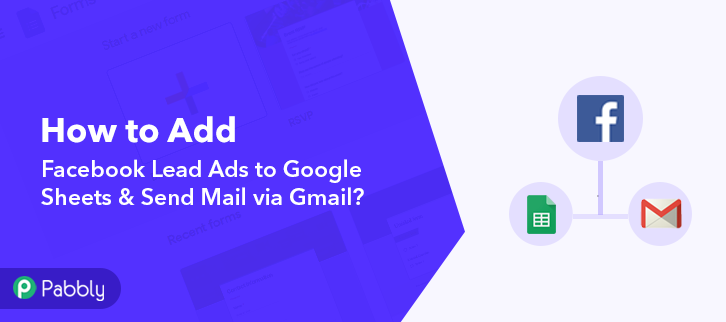
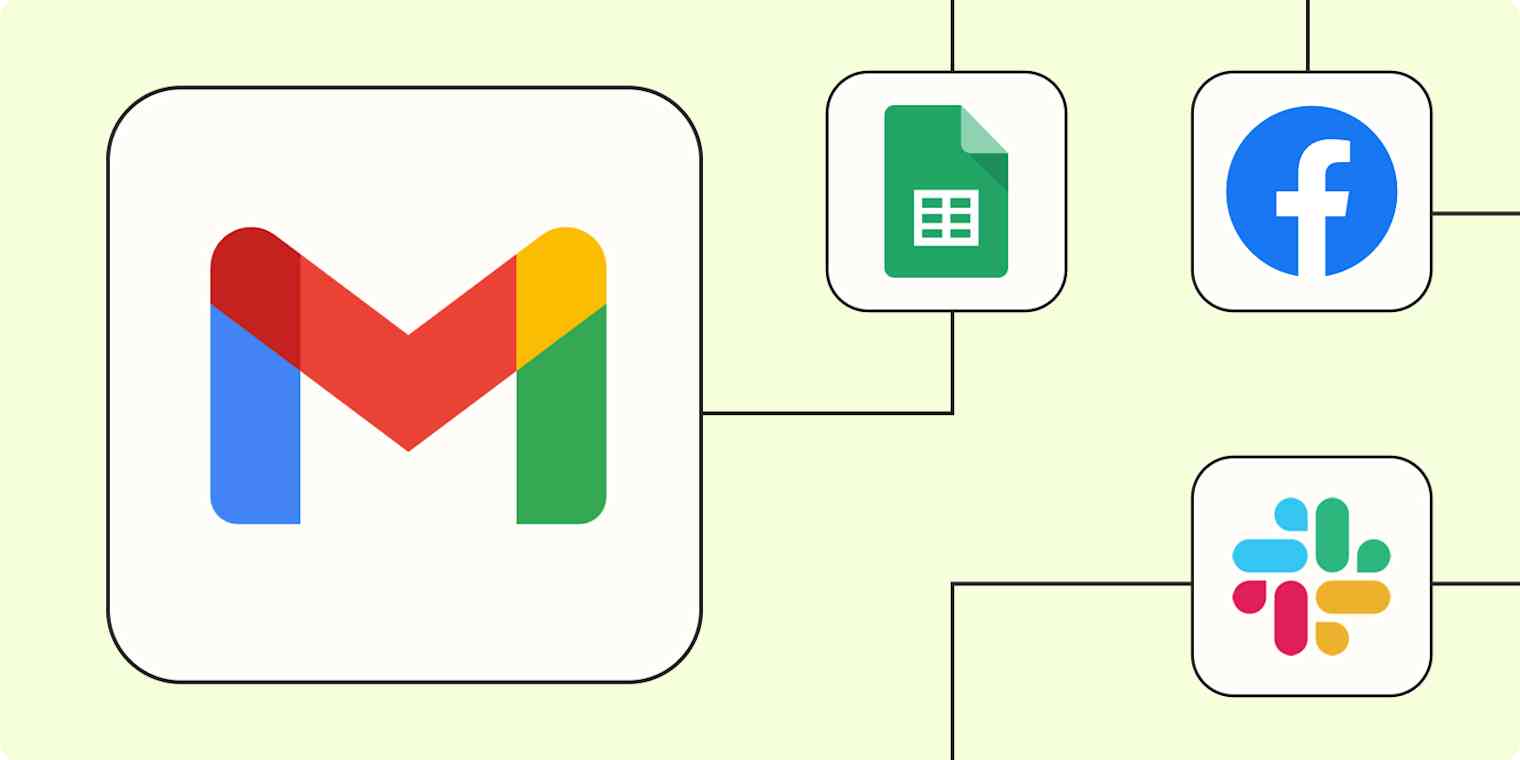
Connecting Facebook Lead Ads to Google Sheets and Gmail can simplify your workflow. It saves time and ensures you never miss a lead.
Imagine you gather leads via Facebook and they automatically populate a Google Sheet. Then, an email via Gmail is sent out instantly. This seamless integration streamlines your marketing efforts. You can manage leads more efficiently, keeping your team and your clients happy.
This guide will show you how to set up this automation. You’ll learn step-by-step methods to connect these powerful tools. Embrace this tech-savvy approach to make your business processes smoother and more efficient. Ready to dive in and enhance your marketing strategy? Let’s get started!
Introduction To Facebook Lead Ads
Facebook Lead Ads offer a powerful way to capture customer information directly from Facebook. This tool helps businesses gather valuable leads without users leaving the platform. The process is seamless, making it easy for potential customers to sign up.
Benefits Of Lead Ads
Facebook Lead Ads provide several key benefits. First, they simplify the lead generation process. Users can fill out forms without leaving Facebook. This reduces friction and increases conversion rates. Second, Lead Ads offer a mobile-friendly experience. Most Facebook users access the platform via mobile devices. Lead Ads are designed to work smoothly on mobile screens. Third, targeting options are robust. You can reach specific audiences based on demographics and interests.
Lead Ads also integrate with your CRM. This allows for quick follow-up with potential customers. Lastly, you get actionable insights. Facebook provides detailed analytics on your Lead Ads. This helps you understand what works and what needs improvement.
Creating Your First Lead Ad
Start by accessing Facebook Ads Manager. Select the “Lead Generation” objective. This will guide you through the setup process. Next, choose your audience. Define who you want to target. Set your budget and schedule. Then, create the ad itself. Design an eye-catching visual and write compelling copy. Include a clear call-to-action.
Now, create your lead form. Keep it short and simple. Only ask for essential information. Use multiple-choice questions if possible. This makes it easier for users to respond. Review your ad and form for any errors. Then, click “Confirm” to launch your Lead Ad. Monitor its performance regularly. Make adjustments as needed to improve results.

Credit: leadsync.me
Setting Up Google Sheets
To efficiently handle Facebook Lead Ads data, integrating Google Sheets is essential. It allows for seamless organization and easy access. Here’s a step-by-step guide to get you started.
Creating A New Sheet
First, open Google Sheets and click on the Blank option to create a new sheet. Name your sheet something descriptive, such as Facebook Leads. Naming helps you identify the sheet easily later.
Next, set up your headers. These headers will be the columns for your data. Common headers include:
- Name
- Phone Number
- Submission Date
These headers ensure that your data is organized and easy to read.
Organizing Your Data
Once your headers are set, it’s time to organize your data. Use the first row for headers and start entering data from the second row.
| Name | Phone Number | Submission Date | |
|---|---|---|---|
| John Doe | john@example.com | 123-456-7890 | 2023-10-01 |
Make sure each lead’s information is entered correctly. This accuracy is crucial for sending emails via Gmail later.
Use filters to manage large data sets. Click on the filter icon in the toolbar. This helps you sort and find specific leads quickly.
Additionally, consider using conditional formatting. It highlights important data and makes it easier to spot trends.
To apply conditional formatting, go to Format > Conditional formatting. Set the rules to highlight cells based on specific criteria.
Finally, save your sheet frequently. Google Sheets saves automatically, but it’s good to check.
Connecting Facebook Lead Ads To Google Sheets
Connecting Facebook Lead Ads to Google Sheets can help you streamline your lead management. By integrating these tools, you can automatically export leads from Facebook to Google Sheets. This saves time and reduces manual data entry. Let’s explore how to set up this integration using Zapier.
Using Zapier For Integration
Zapier is a powerful automation tool. It connects apps and services without coding. With Zapier, you can link Facebook Lead Ads to Google Sheets seamlessly.
The integration process involves creating a “Zap.” A Zap is an automated workflow. It triggers actions based on specific events. In this case, when a new lead comes in from Facebook, it gets added to Google Sheets.
Step-by-step Integration Guide
- Create a Zapier Account: Sign up at Zapier’s website. If you already have an account, log in.
- Start a New Zap: Click on “Make a Zap” from your Zapier dashboard.
- Select Facebook Lead Ads: Choose Facebook Lead Ads as your trigger app. You will need to connect your Facebook account.
- Choose Trigger Event: Select “New Lead” as the trigger event. This event occurs when a new lead submits a form on Facebook.
- Connect Facebook Account: Authorize Zapier to access your Facebook Lead Ads account. Follow the prompts to complete this step.
- Select the Facebook Page and Form: Choose the specific page and form you want to pull leads from.
- Test Trigger: Zapier will pull in a sample lead. This ensures everything is working correctly.
- Select Google Sheets as the Action App: Choose Google Sheets where you want to store the leads.
- Choose Action Event: Select “Create Spreadsheet Row” as the action event. This adds a new row to your Google Sheet for each new lead.
- Connect Google Account: Allow Zapier to access your Google Sheets. Follow the prompts to connect your account.
- Set Up Action: Choose the specific spreadsheet and worksheet. Map the Facebook lead fields to the corresponding Google Sheets columns.
- Test Action: Zapier will send a test lead to your Google Sheets. Ensure the data appears correctly.
- Turn on Your Zap: Once everything is set up and tested, turn on your Zap. Your leads will now automatically transfer from Facebook to Google Sheets.
By following these steps, you can easily connect Facebook Lead Ads to Google Sheets. This setup will automate your lead management process, making it more efficient.

Credit: www.pabbly.com
Automating Data Transfer
Automating data transfer between Facebook Lead Ads and Google Sheets can save time. It ensures your data is always up-to-date. Connecting these tools also allows you to send automated emails via Gmail. This seamless process enhances productivity and ensures no lead is missed.
Scheduling Data Sync
Scheduling data sync is crucial for timely updates. Set specific times for syncing Facebook Lead Ads with Google Sheets. This ensures your data is fresh and reliable. Regular syncs prevent data loss and maintain accuracy.
Handling Data Updates
Handling data updates properly is essential. Ensure your Google Sheets reflect the latest lead information. Use automation tools to update data in real-time. This keeps your team informed and ready to act on new leads.
Introduction To Gmail Automation
Gmail automation saves time and effort. It helps manage emails efficiently. By automating Gmail, you can focus on more important tasks. This guide will show you how to set up Gmail for automation and its benefits.
Benefits Of Automating Emails
Automating emails offers many advantages. Let’s look at some key benefits:
- Time-saving: Automation handles repetitive tasks.
- Consistency: Ensure emails are sent on time.
- Error reduction: Minimize human errors.
- Improved response rates: Quick replies increase engagement.
Setting Up Gmail For Automation
Setting up Gmail for automation is simple. Follow these steps to get started:
- Create a new Gmail account: Use this for your automated emails.
- Enable IMAP: Go to settings, then Forwarding and POP/IMAP.
- Turn on IMAP and save changes.
- Use third-party tools: Connect Gmail to tools like Zapier or Integromat.
Here’s a sample code to automate sending emails via Gmail using Python:
import smtplib
from email.mime.multipart import MIMEMultipart
from email.mime.text import MIMEText

def send_email(to_email, subject, body):
    from_email = 'your-email@gmail.com'
    password = 'your-password'

    msg = MIMEMultipart()
    msg['From'] = from_email
    msg['To'] = to_email
    msg['Subject'] = subject

    msg.attach(MIMEText(body, 'plain'))

    server = smtplib.SMTP('smtp.gmail.com', 587)
    server.starttls()
    server.login(from_email, password)
    text = msg.as_string()
    server.sendmail(from_email, to_email, text)
    server.quit()

send_email('recipient-email@gmail.com', 'Subject Line', 'Email body text')
With these steps and the example, you can automate Gmail and improve your workflow. Start exploring the benefits today!
Credit: zapier.com
Sending Emails Via Gmail
Sending emails via Gmail is a powerful way to keep in touch with your leads. Integrating Facebook Lead Ads with Google Sheets can simplify this process. With Google Scripts, you can automate email sending, saving time and ensuring no lead is missed. Let’s explore how to do this.
Using Google Scripts
Google Scripts can help automate tasks within your Google Sheets. These scripts are small pieces of code that perform specific functions.
- Open your Google Sheet.
- Click on Extensions > Apps Script.
- Delete any existing code in the editor.
- Paste the following code:
function sendEmails() {
  var sheet = SpreadsheetApp.getActiveSpreadsheet().getSheetByName('Sheet1');
  var data = sheet.getDataRange().getValues();
  for (var i = 1; i < data.length; i++) {
    var emailAddress = data[i][1]; // Assumes email is in the second column
    var subject = 'Thank you for your interest';
    var message = 'Dear ' + data[i][0] + ',\n\nThank you for signing up!';
    MailApp.sendEmail(emailAddress, subject, message);
  }
}
Save the script, then click on the clock icon to set up a trigger. Choose to run the script periodically to ensure emails are sent out promptly.
Creating A Mail Merge
Mail Merge allows you to send personalized emails to multiple recipients. This feature can be very effective in email marketing.
- Prepare your Google Sheet with columns for Name and Email.
- Open Google Scripts and input the following code:
function mailMerge() {
  var sheet = SpreadsheetApp.getActiveSpreadsheet().getSheetByName('Sheet1');
  var data = sheet.getDataRange().getValues();
  for (var i = 1; i < data.length; i++) {
    var emailAddress = data[i][1];
    var name = data[i][0];
    var subject = 'Personalized Email for ' + name;
    var message = 'Hi ' + name + ',\n\nWe appreciate your interest in our services.';
    MailApp.sendEmail(emailAddress, subject, message);
  }
}
This code sends personalized emails to each lead. Modify the subject and message as needed. Set a trigger to automate this task.
These methods ensure efficient communication with your leads, enhancing your marketing efforts.
Customizing Your Email Templates
Customizing your email templates can make a significant impact. Emails that feel personal are more likely to be read and responded to. Here, we will focus on how to personalize email content and add dynamic fields.
Personalizing Email Content
Personalizing your email content is crucial for engagement. A well-crafted email feels like a conversation. Use the recipient’s name and make your message relevant to them.
Consider the following tips:
- Use the recipient’s first name.
- Refer to specific details from the lead form.
- Keep your language simple and clear.
Examples:
- Hi John, thank you for your interest in our product.
- We noticed you are interested in digital marketing.
Adding Dynamic Fields
Dynamic fields make your emails more personalized and automated. These fields pull information directly from your Google Sheets. This ensures each email is unique.
Here is a basic example:
Dear {{FirstName}},

Thank you for your interest in {{Product}}. We are excited to connect with you.

Best regards,
Your Company
This template uses dynamic fields to insert the recipient’s first name and the product they are interested in.
To set this up:
- Collect the necessary data in your Google Sheets.
- Ensure your column headers match the field names in your template.
- Use a script or tool to send the personalized emails via Gmail.
Dynamic fields save time and increase your email’s relevance. This makes your communication more effective.
Troubleshooting Common Issues
Experiencing issues while integrating Facebook Lead Ads with Google Sheets or sending mail via Gmail can be frustrating. Many users face common problems. This guide will help you troubleshoot these issues.
Integration Problems
Sometimes, the integration between Facebook Lead Ads and Google Sheets can fail. This can happen due to various reasons. Ensure that you have given the necessary permissions. Check if your Google Sheets API is enabled. Also, verify that your Facebook Lead Ads account is active. Often, re-authenticating your accounts can resolve integration issues.
Email Sending Errors
Email sending errors are common. The most frequent cause is incorrect Gmail settings. Ensure your SMTP settings are accurate. Check your Gmail account settings for security alerts. If Gmail has blocked access, you might need to enable less secure apps. Also, verify that your email quota has not been exceeded. Sometimes, clearing your browser’s cache can also resolve these issues.
Best Practices And Tips
Integrating Facebook Lead Ads with Google Sheets and sending emails via Gmail can be efficient. To maximize this setup, follow some best practices and tips. These guidelines will help maintain data privacy and improve email deliverability.
Maintaining Data Privacy
Ensure that sensitive data remains secure. Only authorized personnel should access the Google Sheets. Use strong passwords and enable two-factor authentication. Regularly update your password to keep your account safe.
Encrypt your data whenever possible. This adds an extra layer of security. Avoid sharing your Google Sheets link publicly. Always share it with specific individuals. Use the ‘Share with specific people’ option in Google Sheets.
Review your data access settings regularly. Remove access for users who no longer need it. This helps prevent unauthorized access. Stay informed about privacy regulations. Comply with laws like GDPR to avoid penalties.
Enhancing Email Deliverability
Ensure that your emails do not end up in the spam folder. Use a professional email address. Avoid using free email services like Yahoo or Hotmail. Set up SPF, DKIM, and DMARC records for your domain. This helps authenticate your emails.
Write clear and concise subject lines. Avoid using all caps or excessive punctuation. These can trigger spam filters. Personalize your emails. Use the recipient’s name and other relevant details.
Keep the email body simple. Avoid using too many images or links. These can also trigger spam filters. Provide an easy way for recipients to unsubscribe. This helps maintain a good sender reputation.
Frequently Asked Questions
How To Integrate Facebook Lead Ads With Google Sheets?
You can use tools like Zapier to connect Facebook Lead Ads with Google Sheets. This allows automatic data transfer. Set up a Zap to capture leads and add them to a specific Google Sheet.
Can Gmail Send Emails From Google Sheets?
Yes, Gmail can send emails from Google Sheets using Google Apps Script. Create a script to automate email sending. It allows personalized emails to be sent based on the data in your sheet.
What Is Needed For Facebook Lead Ads To Google Sheets?
You need a Facebook Lead Ads account, a Google Sheets account, and integration tools like Zapier. These tools automate the data transfer process seamlessly.
How To Automate Email Sending Via Gmail?
Use Google Apps Script to automate email sending from Gmail. Write a script that triggers email sending based on specific conditions in your Google Sheet.
Conclusion
Linking Facebook Lead Ads to Google Sheets and Gmail is highly effective. It simplifies data management and boosts email marketing. Save time and enhance productivity with this integration. Manage leads effortlessly. Automate email follow-ups. Improve your business processes easily. Try this solution today.
See the difference it makes. Your efforts will pay off. Keep your data organized. Stay ahead in the competitive market. Your business deserves this upgrade. Enjoy the benefits of streamlined operations. Make your marketing smarter. Start now and watch your business grow.
